Installation Instructions
FLOWUnsteady is developed in the Julia programming language, which is a modern, high-level, dynamic programming language for high-performance computing. For visualization and postprocessing, FLOWUnsteady uses ParaView, which is an open-source software for scientific and HPC visualization.
The following instructions walk you through how to install Julia, ParaView, and FLOWUnsteady.
On Windows please follow these instructions first to set up Windows Subsystem for Linux.
Julia
- Download and install Julia: julialang.org (currently we are supporting up to Julia v1.10, so we recommend using v1.10.2 or v1.6.7 LTS )
- Add Julia to user-level
binfolder
Replacesudo ln -s /[user-specific-path/Julia-1.x.x]/bin/julia /usr/local/bin/julia/[user-specific-path/Julia-1.x.x]/with the path where Julia got installed. For instance, in MacOS the full path looks like this:/Applications/Julia-1.10.app/Contents/Resources/julia/bin/julia
If you were successfull, typing the following in the terminal will launch the Julia REPL:
juliaParaView
- Download and install ParaView: paraview.org
- Add ParaView to user-level
binfolder
Replacesudo ln -s /[user-specific-path/ParaView-5.x.x]/paraview /usr/local/bin/paraview/[user-specific-path/ParaView-5.x.x]/with the path where ParaView got installed. For instance, in MacOS the full path looks like this:/Applications/ParaView-5.12.0.app/Contents/MacOS/paraview
If you were successfull, typing the following in the terminal will launch the ParaView:
paraviewTo test that ParaView is correctly installed, run one of the examples of the GeometricTools package as follows (copy/paste this in the Julia REPL):
# Install GeometricTools
import Pkg; Pkg.add("GeometricTools")
import GeometricTools as gt
# Load example
examplepath = joinpath(dirname(pathof(gt)), "..", "examples", "example_simple.jl")
include(examplepath)
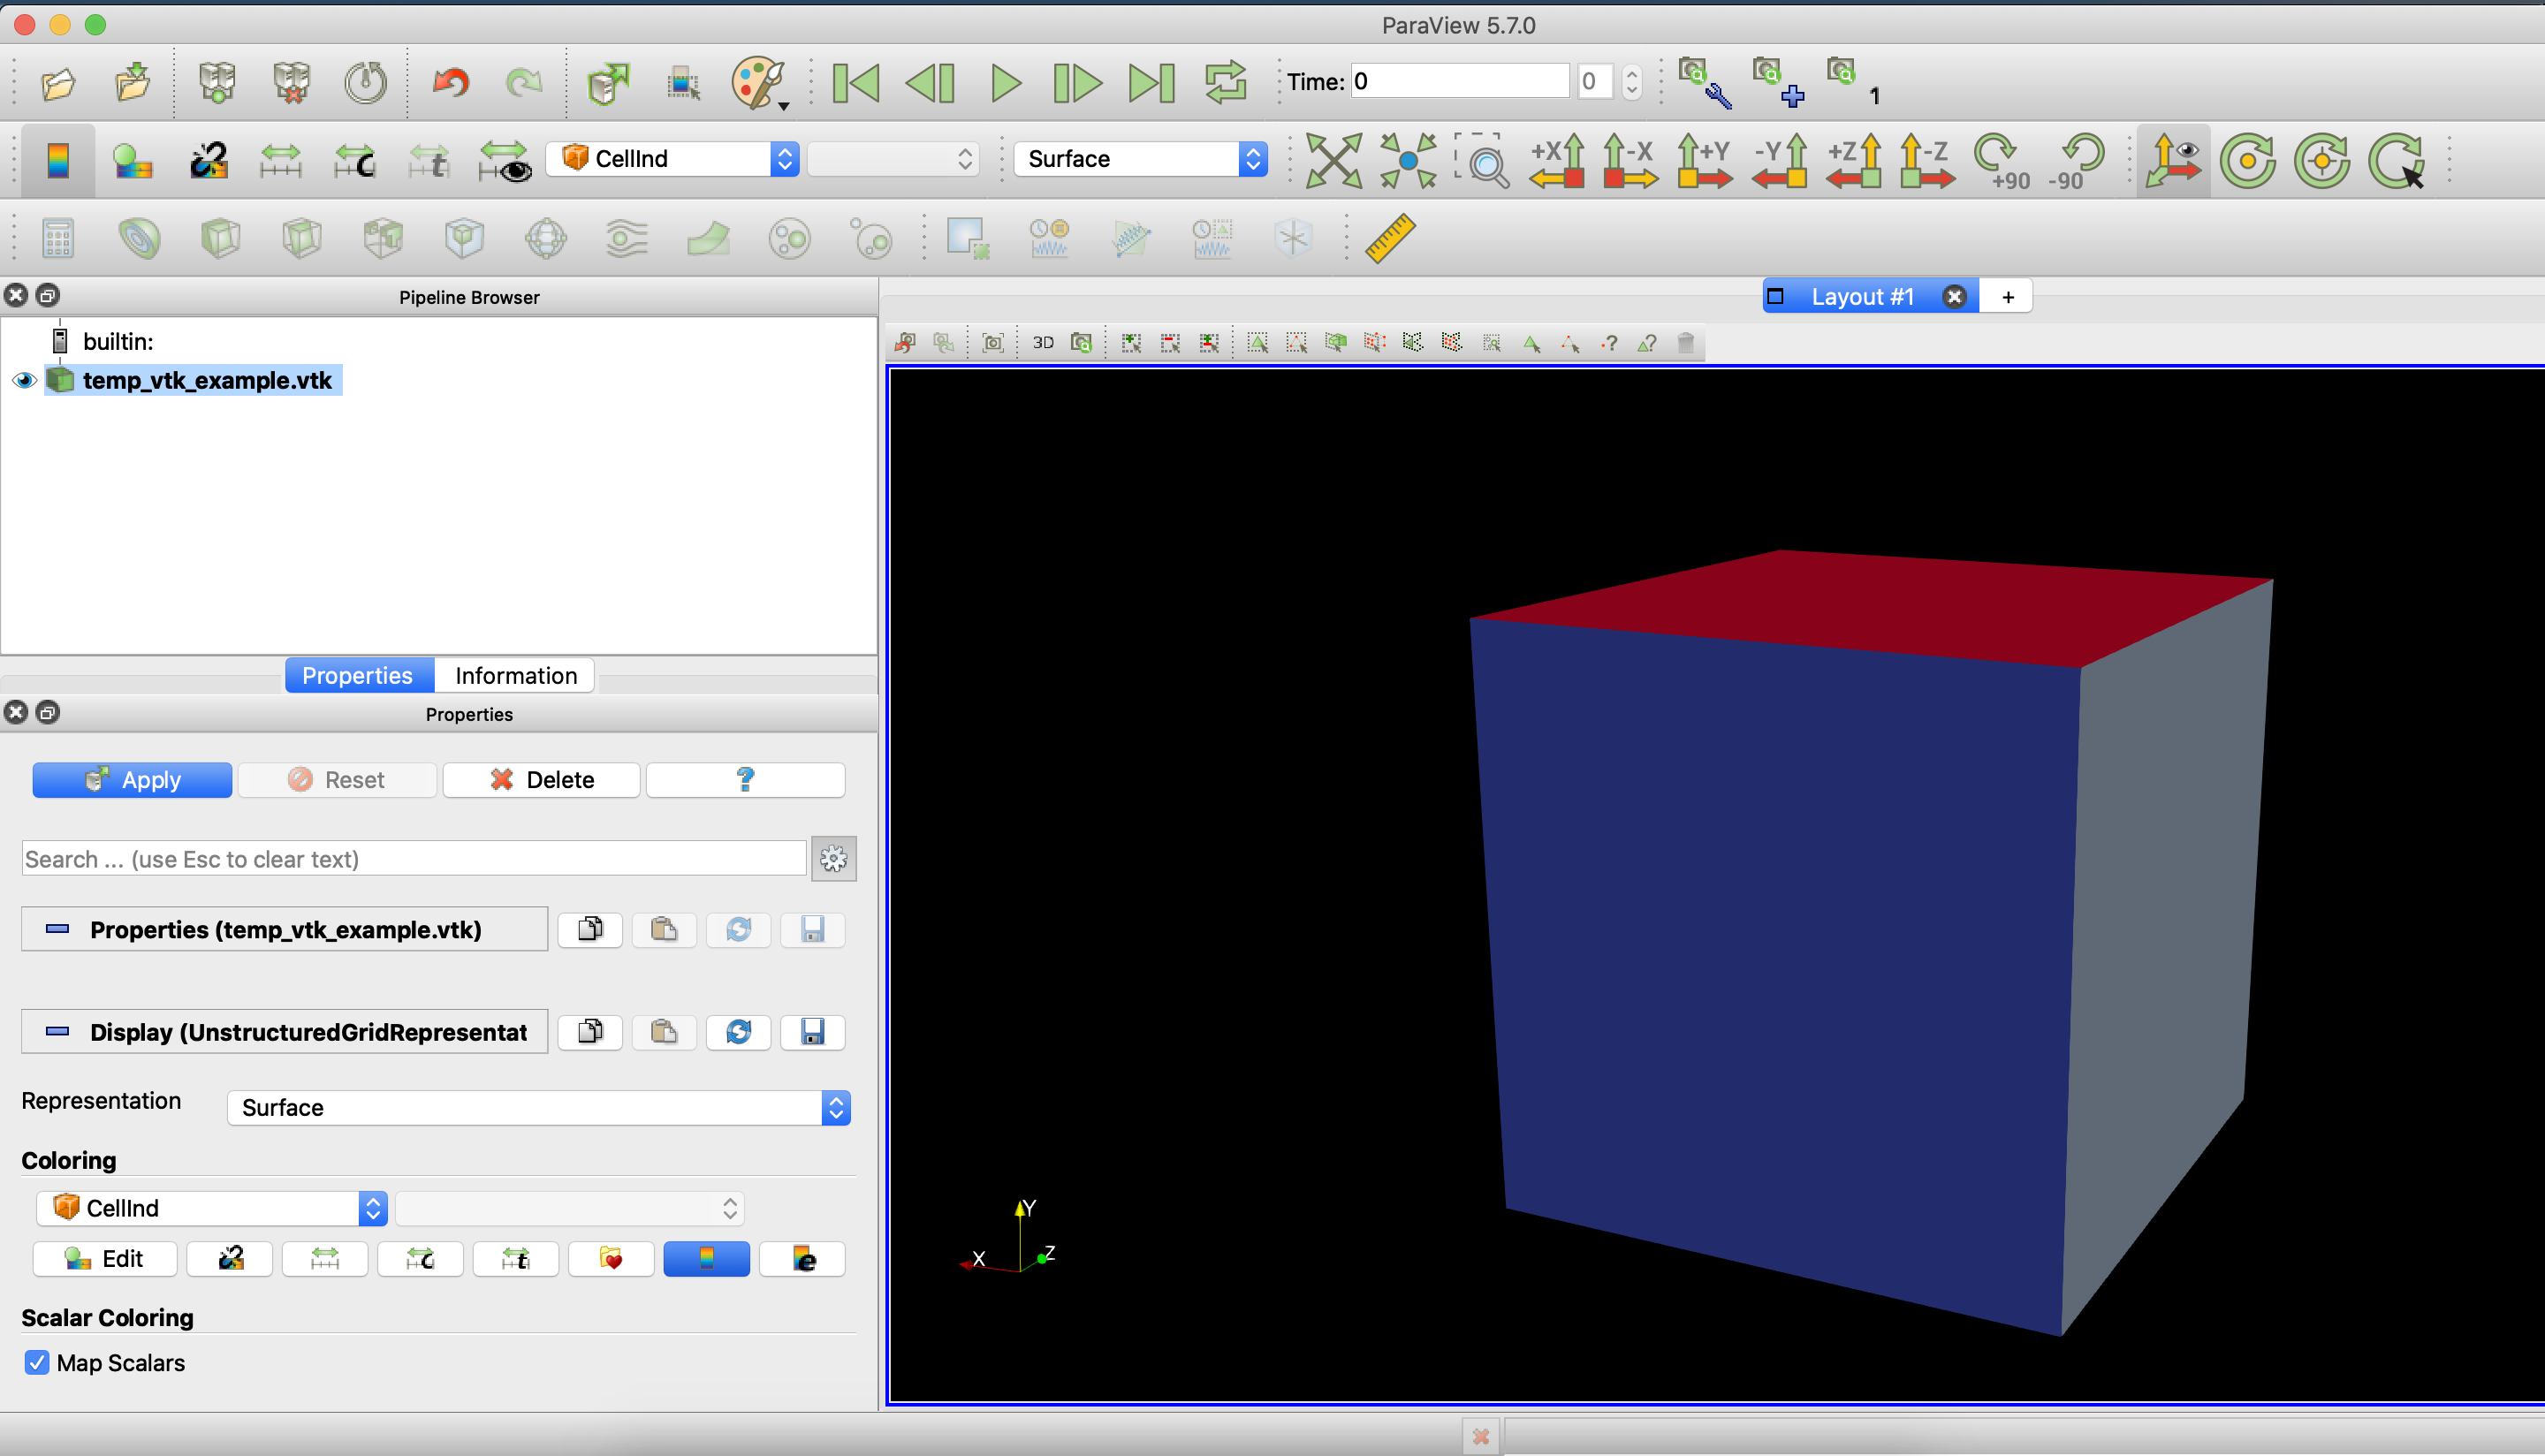
# Run example: it will pull up paraview with a good-looking cube
simple_box2()ParaView will then pull up with a rendering of a cube (click the Apply button under Properties to make it visible).
(Optional) OpenVSP
FLOWUnsteady can import geometry created in OpenVSP using VSPGeom.jl. We recommend installing OpenVSP in your system, then adding VSPGeom.jl to Julia:
] add VSPGeomPyCall
One of the dependencies (AirfoilPrep.jl) is a wrapper of Python code that is written in Python v3.8+. For this reason, make sure that your Python version linked to PyCall is 3.8 or higher. We recommend Python 3.9.12 to avoid segmentation faults caused by PyCall when Julia multithreads. You can do that as follows:
using Pkg
Pkg.add("Conda")
using Conda

Conda.add("python=3.9.12", :py39)

# Install Python packages into that env
Conda.add("matplotlib", :py39)
Conda.add("mpmath", :py39)
Conda.add("scipy", :py39)

# Point PyCall to that Python
py = joinpath(Conda.ROOTENV, "envs", "py39", "bin", "python")  # macOS/Linux
ENV["PYTHON"] = py

# (Re)build PyCall against that interpreter
Pkg.build("PyCall")
Then close and reopen the Julia REPL, and run:
using Pkg
Pkg.add("PyCall")
using PyCall
pyimport("matplotlib")
pyimport("mpmath")
pyimport("scipy")
PyCall.pyversion
which should not error and reveal your Python version:
v"3.9.12"Notes on PyCall if using different instructions
Since PyCall now relies on a custom install of Python3, make sure that:
- matplotlib, mpmath, and scipy are installed in that Python,
pip3 install matplotlib mpmath scipy --user - For optimal experience, verify that matplotlib uses the Qt5Agg backend. Useful instructions can be found here and here.
If you run into errors with PyPlot while running FLOWUnsteady, they are likely related to one of those two items.
Add FLOWUnsteady
You are now ready to install the FLOWUnsteady package.
In the julia REPL:
url = "https://github.com/byuflowlab/"
packages = [ "AirfoilPrep.jl", "FLOWVLM", "FLOWNoise", "BPM.jl", "FLOWVPM.jl", "FLOWUnsteady"]
Pkg.add([ Pkg.PackageSpec(; url=url*name) for name in packages ])
Test FLOWUnsteady
In order to test that FLOWUnsteady and all dependencies were successfully installed, try running some of the examples under FLOWUnsteady/examples/.
For instance, you can run the Simple Wing example as follows:
import FLOWUnsteady as uns

include(joinpath(uns.examples_path, "wing", "wing.jl"))
or you can run the Tethered Wing example:
import FLOWUnsteady as uns

include(joinpath(uns.examples_path, "tetheredwing.jl"))
This will pull up Paraview visualizing the simulation. Kick off your shoes, sit back, and enjoy the simulation that you have just run.